Configuration#
This section discusses ways to set up your MLFlow.
Connecting#
Use mlflow.set_tracking_uri to specify the uri for the mlflow for the pythonAPI.
Environment variables#
You can specify environment variables to connect to MLFlow:
MLFLOW_TRACKING_URI: specifies the URI that must be used to connect to the MLFLOW server.MLFLOW_TRACKING_USERNAME: specifies the username to be used to log in to MLFlow.MLFLOW_TRACKING_PASSWORD: specifies the password to be used to log in to MLFlow.
Once these variables are loaded into the Python environment, MLFlow will automatically find and use them.
Funcitons#
Use the functions mlflow.set_tracking_uri and mlflow.get_tracking_uri to manipulate the tracking uri directly from the code.
A really typical issue for me is to check if the uri I specified in the MLFLOW_TRACKING_URI is recognized by the mlflow. The following cell implements an experiment where to MLFLOW_TRACKING_URI in python is set to some specific value and shows that mlflow.get_tracking_uri returns the exactly specified value.
import os
import mlflow

os.environ["MLFLOW_TRACKING_URI"] = "uri from environ"
mlflow.get_tracking_uri()
'uri from environ'
The next cell uses mlflow.set_tracking_uri and shows that the uri is updated.
mlflow.set_tracking_uri("test uri")
mlflow.get_tracking_uri()
'test uri'
URI#
The URI actually specifies where MLFlow stores the logged information. There are two options:
If you have an mlflow server, specify the
httpURL to it, like this:https://mlflow.domen:5000. Note 5000 is the typical port for the mlflow.Specify the local folder in the format
file://<path in local filesystem>.If you are working in Databricks, you should have access to the Unity Catalog. Use
databricks-ucto use it as the model URI.
The following cell creates the /tmp/mlflow_runs directory, and sets it as mlflow trakcing uri.
from pathlib import Path
mlflow_runs = Path("/tmp") / "mlflow_runs"
mlflow_runs.mkdir(exist_ok=True)
mlflow.set_tracking_uri(f"file://{str(mlflow_runs)}")
The following cell generates a new experiment, and displays the ID.
mlflow.create_experiment("my_experiment")
'996475202870020725'
To ensure that the information was stored exactly in the folder specified tracking URI folder, the following cell shows the folder’s content.
list(mlflow_runs.iterdir())
[PosixPath('/tmp/mlflow_runs/996475202870020725'),
 PosixPath('/tmp/mlflow_runs/.trash')]
Start server#
MLflow should have a tracking server. Here we describe how to start it locally from docker.
Use mlflow server command to run the mlflow server. The following important options are awailable:
--backend-store-uri: uri where logging data supposed to be stored. By default it will create a.mlrunsfolder in cwd.--default-artifact-root: uri where mlflow supposed to store artifacts.
Docker#
Load docker image.
!docker pull ghcr.io/mlflow/mlflow &> /dev/null
The following command will start the mlflow server in docker, but it’s also acceptable in the host.
%%bash
docker run -p 5000:5000 -dt --name my_server --rm \
    ghcr.io/mlflow/mlflow \
    bash -c "mlflow server --host 0.0.0.0 --port 5000"
62bd5e3562c186a72bafe3de4fa69219d15cce8fa0ca31b86c6b922070cda425
Don’t forget to stop the server after playing with it.
!docker stop my_server
my_server
Check#
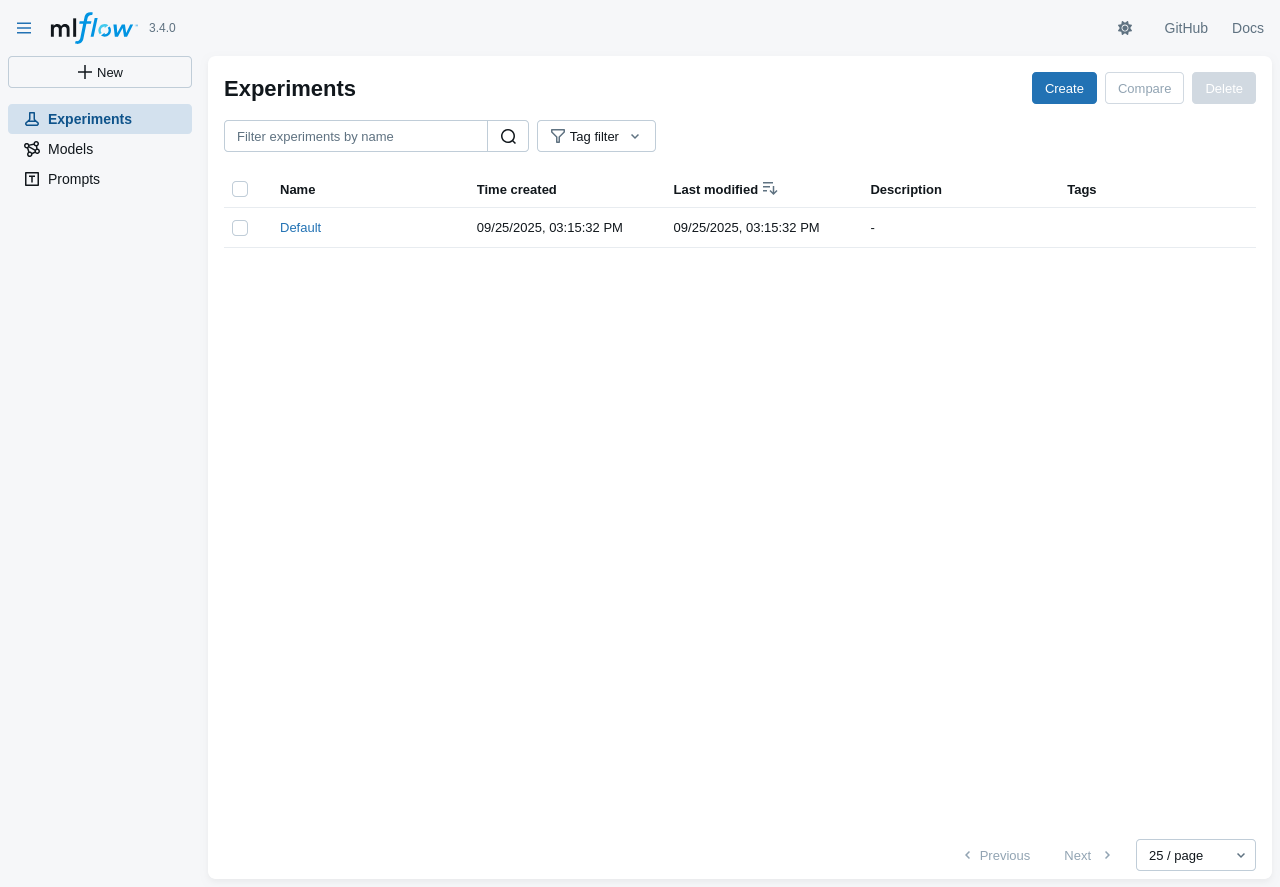
Now you can access your mlflow UI using the browser url localhost:5000. Let’s have a look at mlflow using the selenium screenshot.
from time import sleep
from selenium import webdriver
from selenium.webdriver.firefox.options import Options
from selenium.webdriver.firefox.service import Service
from selenium.webdriver.support.ui import WebDriverWait
from selenium.webdriver.common.by import By
from PIL import Image
import io

# Set up Firefox options
options = Options()
options.binary_location = "/usr/bin/firefox"

driver = webdriver.Firefox(
    options=Options(),
    service=Service(
        # path to the geckodriver on my computer
        executable_path="/snap/bin/geckodriver",
        log_output="/dev/null"
    )
)
driver.get("http://localhost:5000")

sleep(3)

screenshot = driver.get_screenshot_as_png()
image = Image.open(io.BytesIO(screenshot))
display(image)

driver.close()