Widgets overview#
Here are the main components that can be added to a tkinter application.
import os
from pathlib import Path
os.chdir(str(Path(os.getcwd()).parent))

import tkinter as tk
from tkinter import ttk
from tkinter_files.screenshot import take_screenshot
Button#
Simple button. It is important to note that you can set the text written on the button by setting the text property.
root = tk.Tk()
button = tk.Button(
    root, text="Example button"
)

button.pack(padx=6, pady=6)

root.after(200, take_screenshot, root)
root.mainloop()
Entry#
You can add text to an entry using the insert method.
root = tk.Tk()
entry = tk.Entry(root, text="Initial text")
entry.pack(padx=6, pady=6)

entry.insert(0, "Initial text")

root.after(200, take_screenshot, root)
root.mainloop()

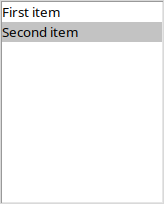
List box#
This is an element that holds a set of lines, each of wich can be selected.
Check more on the corresponding page.
The following cell shows the creation of the listbox containing two items: “First item” and “Second item”. Second item is selected.
root = tk.Tk()
list_box = tk.Listbox(root)

list_box.pack()
list_box.insert(0, "First item")
list_box.insert(1, "Second item")
list_box.selection_set(1)

root.after(200, take_screenshot, root)
root.mainloop()
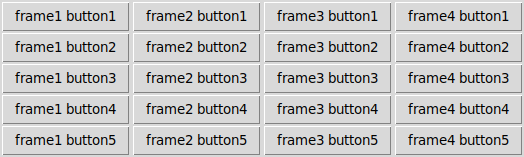
Frame#
In the Tkinter library, the Frame widget is a container that is used to group and organize other widgets. It provides a rectangular region on the screen where you can place other widgets such as buttons, labels, text boxes, or even other frames. The Frame widget itself does not have any visible content but serves as a layout and organizational element.
The following example shows how you can pack buttons horizontally in frames packed vertically.
root = tk.Tk()

frame_count = 4
buttons_count = 5
for i in range(frame_count):
    tmp_frame = ttk.Frame(borderwidth=1)
    tmp_frame.pack(side=tk.LEFT)
    for j in range(buttons_count):
        tmp_button = tk.Button(tmp_frame, text=f"frame{i+1} button{j+1}")
        tmp_button.pack()

root.after(200, take_screenshot, root)
root.mainloop()
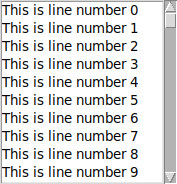
Scrollbar#
It’s common to use it in combination with some other elements. The following example shows how tk.Scrollbar can be used together with ListBox. See the scrolling page for more details.
root = tk.Tk()
scrollbar = tk.Scrollbar(root)
scrollbar.pack(side = tk.RIGHT, fill=tk.Y)

mylist = tk.Listbox(root, yscrollcommand = scrollbar.set)
for line in range(100):
   mylist.insert(tk.END, "This is line number " + str(line))

mylist.pack(side = tk.LEFT, fill = tk.BOTH )
scrollbar.config(command = mylist.yview)

root.after(200, take_screenshot, root)
root.mainloop()
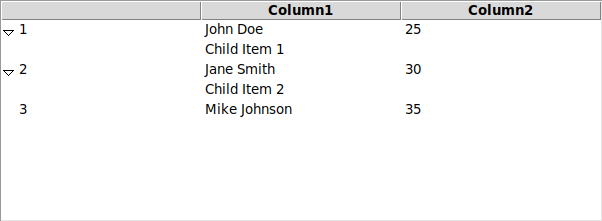
Treeview#
ttk.Treview is a class that is used to display data in a hierarchical or tabular form. Watch more details in spefic page for tree view.
The following example demonstrates how to create a table with nested elements for certain records.
root = tk.Tk()

# Creating treeview
tree = ttk.Treeview(
    root,
    columns=("Column1", "Column2"),
)
tree.heading("Column1", text="Column1")
tree.heading("Column2", text="Column2")
tree.pack()

# Insert data
tree.insert(parent="", index="end", text="1", iid=0, values=("John Doe", "25"), open=True)
tree.insert(parent="", index="end", text="2", iid=1, values=("Jane Smith", "30"), open=True)
tree.insert(parent="", index="end", text="3", values=("Mike Johnson", "35"), open=True)

# Insert child
tree.insert(parent="0", index="end", values=("Child Item 1", ""))
tree.insert(parent="1", index="end", values=("Child Item 2", ""))

root.after(200, take_screenshot, root)
root.mainloop()
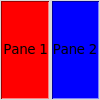
Pained window#
A PanedWindow is a container widget that may contain any number of panes, arranged horizontally or vertically.
So in following example you can move border between red and blue area.
root = tk.Tk()
root.geometry('100x100')

# Create a PanedWindow widget
paned_window = tk.PanedWindow(root, orient=tk.HORIZONTAL)
paned_window.pack(fill=tk.BOTH, expand=True)

# Create two resizable panes
pane1 = tk.Label(paned_window, text="Pane 1", bg="red", relief=tk.SUNKEN)
pane2 = tk.Label(paned_window, text="Pane 2", bg="blue", relief=tk.SUNKEN)

# Add the panes to the PanedWindow
paned_window.add(pane1)
paned_window.add(pane2)

root.after(200, take_screenshot, root)
root.mainloop()